Painting Our Kitchen Cabinets
Gretchen Rose
During our first walk-through of this home with our realtor, I knew it was the house for us. It was just down the street from the neighborhood we rented in for just over 2 years, which meant we were familiar with the area. Keeping most of the same running routes was a major bonus!
Although there were several key features that made this house a “YES” (exposed beams in living room, 2 full baths- one attached to master, and a partially finished, large basement), there was an equally long list of “must change asap” items.
One of the must change items was the kitchen- particularly the color of the cabinets. They started off a dark wood stain with a very red tone- which could be great in the right space. Just not this kitchen! Combined with the dark faux granite countertops and black appliances, the kitchen felt small and extremely dark. I love a good natural wood cabinet, but these were not that. At least they were ceiling height! Within a few weeks of moving in, my mind was made up and the cabinets were getting a refresh- I figured the risk was worth it. After all, I wasn’t going to like the kitchen any less! With a vacation week at home (thanks to a COVID-19 postponed Boston marathon), I had time to paint so I got started!
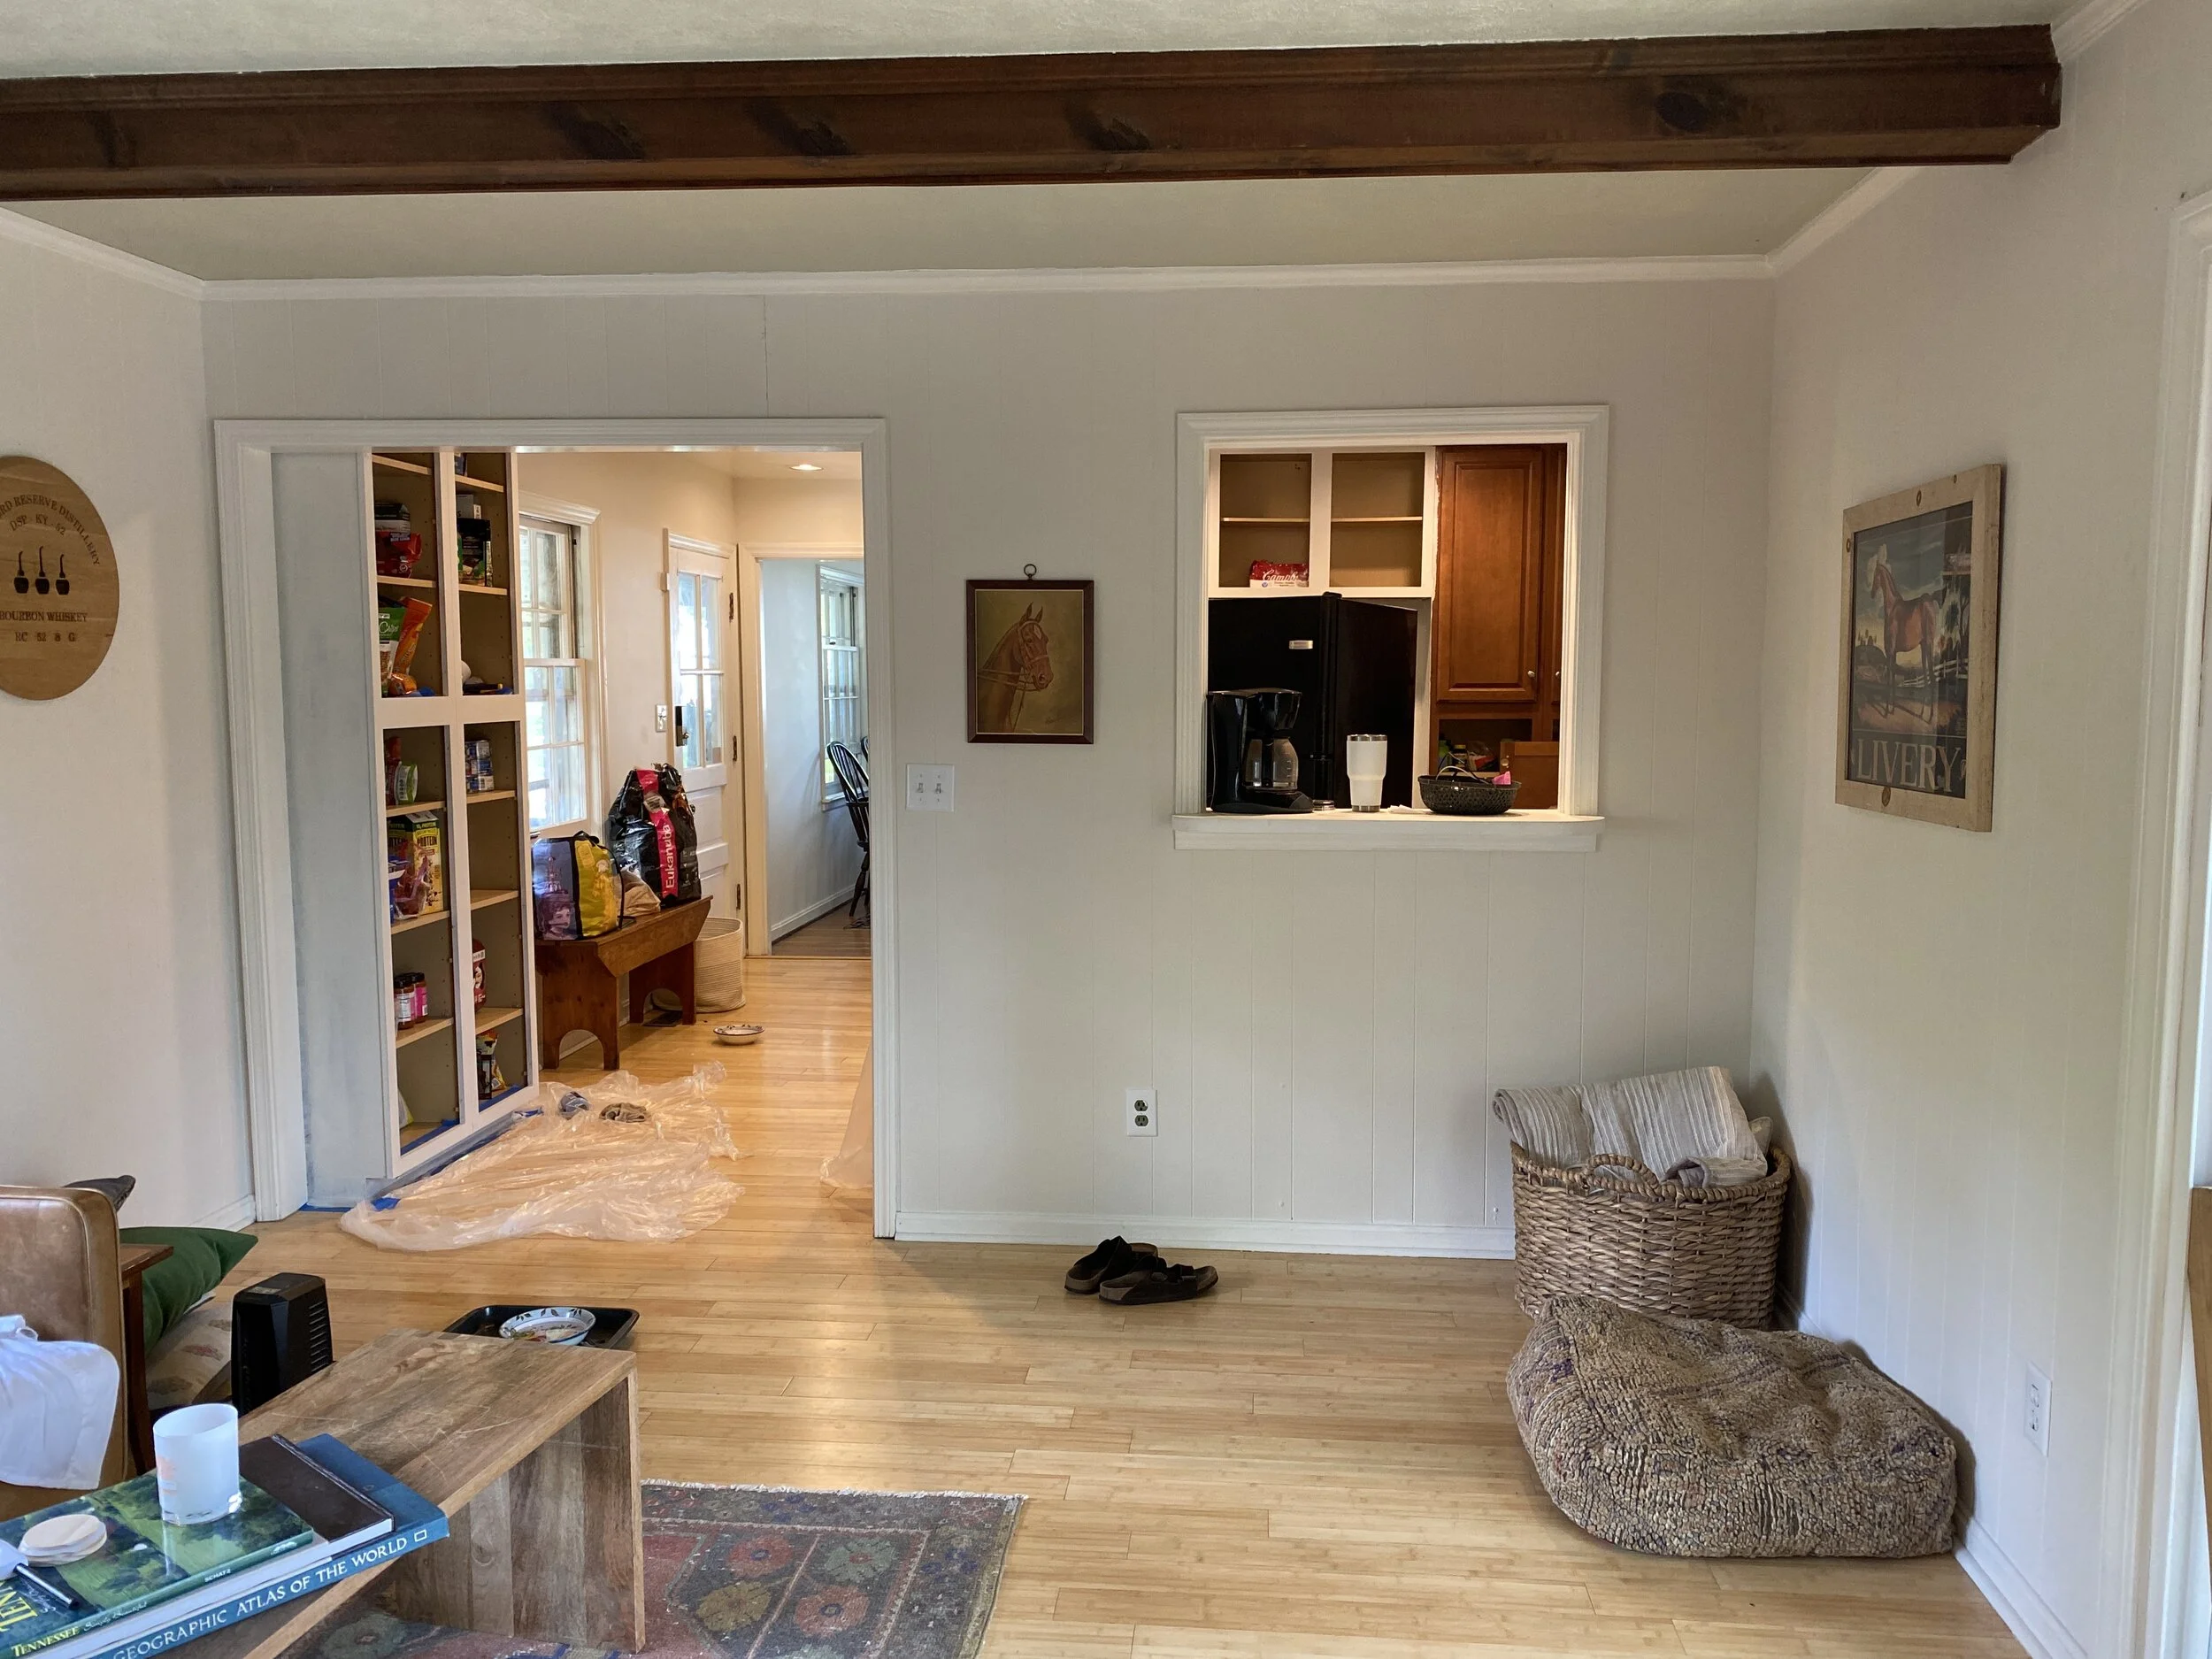
Here are the only “befores” I could find:

Of course, my apologies for my real-life, not-picture-ready kitchen!

I absolutely adore my vintage items from Wicker and Wonder shop! Linked here.
Disclaimer: I am not a professional painter by any means. This process worked for me for the most part, and I will include some of my mistakes so that you won’t make the same!
SUPPLIES:
· Paint rollers (4-inch wide rollers, I used 3 for priming process, 3 for painting process)
· Paint brushes (2 inch, angled, I used 2 for priming process, 2 for painting process)
· Paint trays
· Paint + Primer (I used 1.5 gallons of KILZ brand primer, 1 gallon of the paint)
· Sand paper (150 and 180 grit, I used both paper and sanding blocks)
· Tools for hardware removal
· Plastic sheeting to protect surfaces
· Old washcloths/rags (for wiping sanding dust off)
· Degreasing dish soap or TSP
· Painters tape (Luckily chose the same cabinet color as wall color, so I didn’t have to tape around walls).
Day 1:
Removed all hardware, laid plastic sheeting down on floors (don’t have a garage), with 150 grit sandpaper I sanded cabinet doors front and back, as well as the cabinet bases/wall units. Basically sanded everything I planned on painting with 150 grit! This isn’t a heavy sanding, rather just enough to give texture so that the paint will adhere better. If you have a garage or nice weather, I recommend doing the cabinet doors outside for easier clean up! I also used the degreasing dish soap to scrub off grease/grime from cabinets that were around the oven/stove. If you skip this step, your paint may not stick (you could also use TSP from your local hardware store- I purchased some but the dish soap ended up working fine).
NOTE: I kept the hardware for each section in individual plastic baggies, labeled, so that I wouldn’t lose anything.
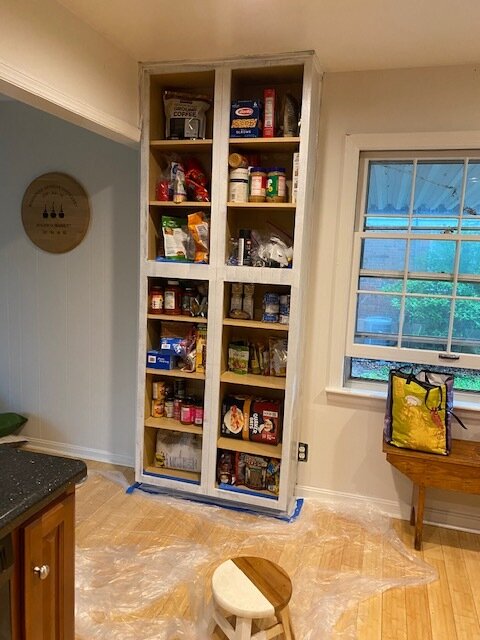
The point of no return!

dining room-turned-painting workshop!
Day 2:
Morning: 1st coat of primer on back sides of everything, including cabinet bases
Afternoon: 2nd coat of primer (same side), including bases.

I am likely thinking “NEVER DOING THIS AGAIN” at this point.
You can see it start to brighten the space up! (insert squeal)

This takes up a lot of space, and Maker was able to avoid stepping on the wet paint. Lincoln avoided the room completely. If we had kids…this would have been quite hazardous.

bases primed!
Day 3:
Morning: 1st coat primer on front side.
Afternoon: 2nd coat of primer on front side, then sanded with 180 grit to smooth front sides of doors to prep for paint.
NOTE: We caulked around ceiling so that the finish was seamless and looked more “built-in”. I 100% recommend this step, but make sure to purchase the right caulk. The right caulk is acrylic caulk. DO NOT BUY SILICONE- paint doesn’t stick to it. That was a nightmare, so just don’t make the same mistake we did. YOU WILL REGRET THAT.

Still need to get an outlet cover for this guy but I have to also cut the edge way down so it will fit.

Day 5:
Morning: 1st coat of real paint on the fronts of the cabinets (I recommend doing the front side last so it dries the smoothest and won’t be face down on plastic for 24 hours).
Afternoon: sanded the fronts lightly with 180 grit and did touch-ups (didn’t really need a full second coat of the real paint since my base coat was super full coverage).
Day 6:
Morning: picked up the mess and put our kitchen back together! Vacuumed the dust from floor, wiped down cabinets with a damp washcloth, and did a few more touch-ups (sometimes the edges are easier to do when a cabinet door is hanging versus lying flat on the floor).

Hardware from Top Knobs via Wayfair (great selection here)

There you have it! It wasn’t difficult, it just took time. Go slowly to avoid messy mistakes, prep correctly (plastic on floor, tape off walls etc., and use the right caulking!!!!). It cost less than $500 in materials and hardware, so we felt it was totally worth it. Future plans? Removing that wall and creating a peninsula rather than a pass-through!

FINISHED PRODUCT! So thrilled with the final outcome.

It feels 100% brighter in our kitchen now!